

Are you ready to get the most out of your
When I started homeschooling, I was a bit of a planner freak. I purchased several planners (cute, printed, and blank), but I couldn’t find a system that worked for me. I would get excited about the prospects of a new planner (because, hey, this will ensure I’m a “good” homeschooling parent, right? ). Unfortunately, after the thrill of the pretty new planner ended, I would drop it altogether.
Not only is this wasted money, but it’s also a waste of time and resources.
While I now use the perfect
Now, you may be one of those people who gets completely overwhelmed by plans and schedules, and that’s OKAY! Not all of us are naturally inclined to plans and schedules.
Today, I want to lessen your overwhelm by sharing with you how I incorporate planning into my

Why should I use a homeschool planner?
There are many reasons why you should use a
First of all, homeschooling is a responsibility. Most people who have a job know what their job role and expectations are. By using a
A
Secondly, a
Moreover, government bodies require families to report their children’s progress yearly in some regions. By tracking your children’s lessons and discoveries in a planner, you have a solid form of documentation to share with educational/government representatives (should it be requested of you).
What kind of planner should I use?
There are so many different
From digital planners to printed planners, the possibilities are endless! I use a combination of a printed planner and a digital planner (through Homeschool Panda).
I use a printed planner for goal setting, curriculum assessment, attendance, contact information, and physical education tracking.
Finding a planner that met my unique needs was challenging. After unsuccessfully attempting to use several printed
However, I use Homeschool Panda for our day-to-day lesson tracking. I like digital for this purpose because I use a lot of video clips and websites in my lessons. With a digital planner, I can include the links right within the lesson. Plus, if a lesson goes long and we have to bump something, I simply shift the plan forward instead of erasing and rewriting plans (which is one of the downsides of a printed planner).
How should I bind my planner?
So, let’s say you have the perfect planner. How that planner is packaged will greatly impact its use.
I have experimented with several different methods to bind my planners, and I thought I would share my observations with you.
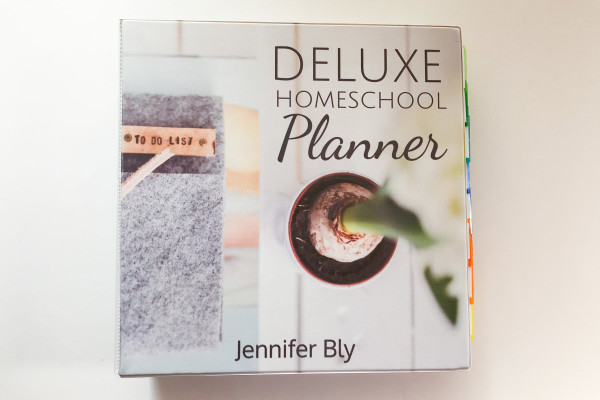
Using a binder for your homeschool planner
The first method is simply printing out the sheets, hole-punching them, and placing them in a binder. I love the flexibility of this kind of binding system. I can have dividers for each section in the binder and print out sheets as we go through the year (I don’t need to print everything before we start our first day of the
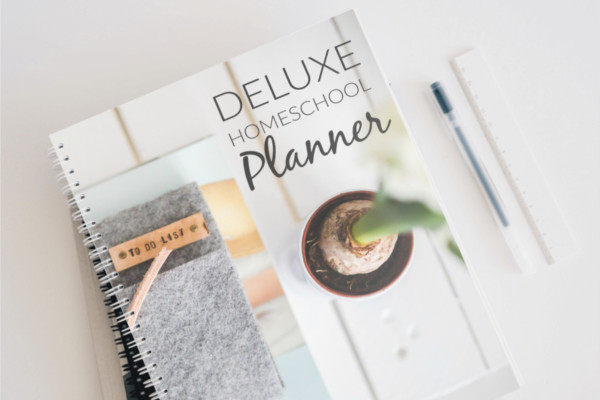
Coil-bound homeschool planners
The second method is to print and layout all the sheets you want for your planner, then bring them to a printer or an office store to get them coil-bound. I love how portable coil binding is. I like to have only one page open at a time, so having the flexibility to fold pages around to the back of the book is a huge bonus! For an extra cost, you can ask the printer to insert dividers into your coil-bound planner, too.
Unfortunately, with this method of binding, you need to know EXACTLY which pages you want to use (and how many of each) at the outset of the year. In addition, there’s no flexibility in adding additional pages after your planner is bound.
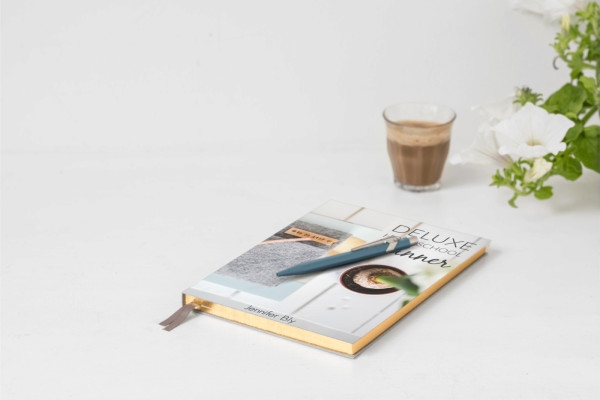
Bookbound homeschool planners
The third method is book-bound. I’ve tried a few book-style planners, and to be perfectly honest, I absolutely detest this style of planner. I find books to be very rigid. Also, quite often, the margins are unusable (I like to utilize every space of my planning sheets). I’ve also heard that book-bound planners are especially annoying for left-handed individuals.
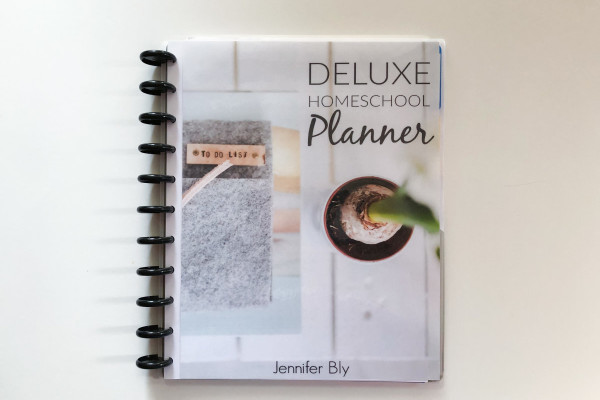
Discbinding for homeschool planners
The last (and my favourite) method of binding a
What I love about disc-bound planners is that they have the flexibility of a binder (you can add and remove pages with ease) but the portability of a coil planner (with a smaller footprint, too). Also, dividers can be added to a disc-bound system. This makes it easy and quick to flip to the section you need.
The pages of a disc-bound planner can be fragile if you’re rough when flipping them. This is the negative side of this type of binding system, but it doesn’t deter me from using one.
How should I organize my homeschool planner?
If you want to maximize the use of your
I have my printed planner organized in the following manner:
- cover
- attendance log
- goals sheet
- quarterly goals/focus sheet
- month at a glance sheet/calendar
- four or five weekly planning sheets (I don’t write my plans into these sheets, I use
Homeschool Panda for that) but rather I write any spontaneous activities, notes, and observations on these sheets. - a physical education log for the month
- a book log for the month
I repeat the month at a glance and the rotation of the planning sheets until it’s time to add the next quarterly goals/focus sheet.
At the end of my planner, I have a space for documentation items such as:
- grading sheets
- passwords list
- contacts
- to-do lists
When should I write in my planner?
If you want to use your
- when you’re planning lessons
- weekly
- daily
- at the beginning and the end of the year
WRITE IN YOUR PLANNER WHENEVER YOU’RE PLANNING LESSONS
I create a simple, broad plan before the start of the
After that, I like to plan my lessons in six-week blocks. This allows me frequent opportunities throughout the year to assess our
I once planned our whole year in advance only to discover after five weeks that I wanted to swap out a couple of different curriculums. All the work I put into drafting those curriculum lessons was wasted! With smaller blocks planned, there’s less remorse if you have to omit something.
USE YOUR PLANNER WEEKLY
Every Friday, I like to take some time to reflect on the previous week and look at the week ahead. I also like to make a list of supplies for the following week and a to-do list.
WRITE IN YOUR PLANNER DAILY (ON “SCHOOL” DAYS)
Take the time to record attendance, document your children’s activities for the day, log the books you’ve read, and write down any physical education activities. Simple, well-thought-out planner sheets make this process easy for even the busiest
WRITE IN YOUR PLANNER AT THE BEGINNING AND THE END OF THE YEAR
It’s important to take the time at the beginning of the year to document your goals and learning objectives and map out a broad plan for the year (I love my quarterly planner sheets for this)!
At the end of the year, reflect on your goals and objectives. Involve your child in assessing the curriculum you used and set goals for the following school year.
As a bonus tip, I highly recommend using erasable gel pens to write in your
Napoleon Hill once said, “Plan your work and work your plan.” This is your chance to do exactly that!
If you have a planner and need to start using it, I encourage you to join the 5-day homeschool planning email challenge. Start your days with a clear vision and purpose. Sign up for the
![]()
SHARE WITH OTHERS


Thank you for this! I am starting K5 for my son and I’m freaking out. I am a Happy planner babe and I love their planners but the Teacher planner drives me nuts in the layout but I like the idea of both digital and physical. i just got done telling my husband about needing a tangible planner to write the things we did down. but also something for the tablet i have as well. I’m excited about the homeschool panda site!