When I was a little girl, one of my beloved Christmas memories was the daily chocolate treat I would retrieve from the advent calendar. I loved opening the little doors to the calendar and as the numbers grew larger, my excitement for Christmas multiplied.
I’ve wanted my daughters to partake in the joys of a chocolate calendar, but with my oldest daughter’s anaphylaxis dairy allergy it seemed unlikely, until this year.
One day while I was closing up the recycling bag, a 30-egg carton tray caught my eye. What if I made my own advent calendar and filled it with chocolates that are safe for my daughter?!
Here’s a tutorial for how I made an egg carton advent calendar.
Check out this tutorial for a DIY egg carton advent calendar! #Christmas #DIY Click To Tweet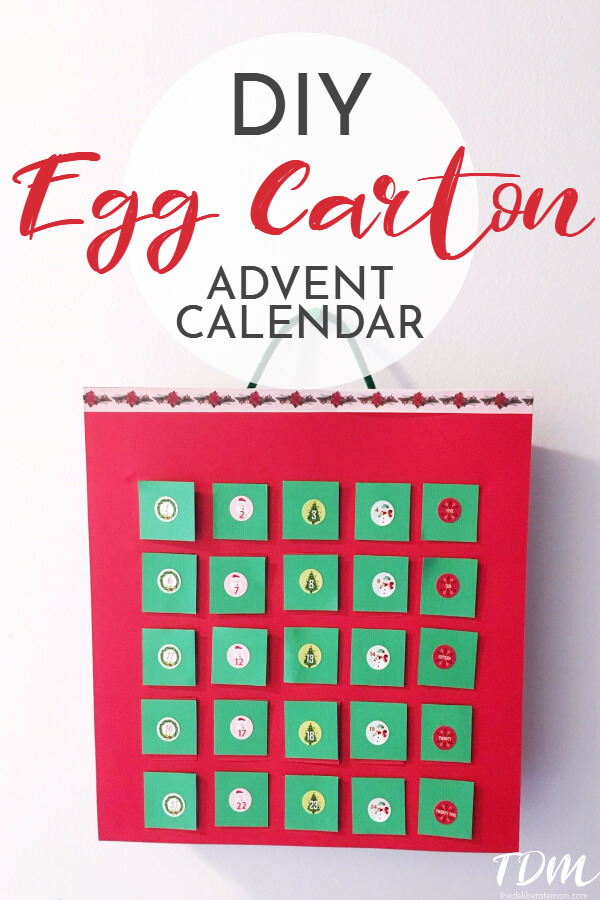
DIY EGG CARTON ADVENT CALENDAR
SUPPLIES
- egg carton that holds 2½ dozen eggs
- 12″ x 12″ scrapbook paper (2 sheets / I used red and green)
- number stickers
- pipe cleaner
- washi tape and other supplies for decorating
- cutting mat
- cutting knife
- double-sided tape

STEP 1
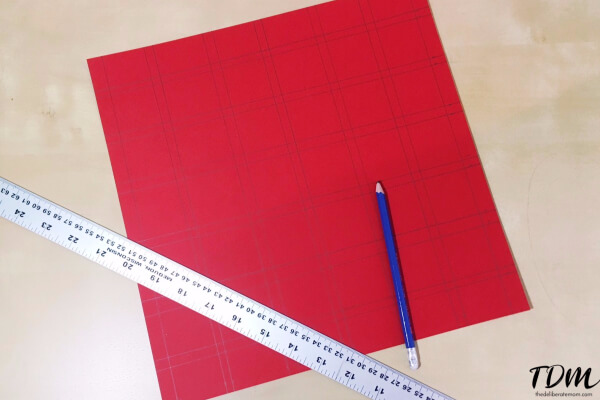
Draw squares on the a sheet of red scrapbooking paper.
Make each square approximately 1 ½” wide by 1 ¼” tall with a gap of about ¼” bordering each square.
Your lines and measurements don’t have to be perfect (as you can see in the photo below, some squares are slightly larger than others). As long as you plot them in the proper places; as each square needs to be directly in front of a space in the egg carton.
I did 5 rows of 5 squares. The top of the calendar I left blank with no squares so that would have space to decorate and embellish the calendar.
STEP 2
Place the scrapbooking paper on a cutting mat or a thick piece of cardboard and cut three sides of each square (top, left side, and bottom). Use the lines you drew as your guide for where to cut.
* Note: I know cutting on the left side of the square seems wrong, but we’ll be flipping this paper over for the finished design. So, for the doors to open the correct way, your cutting needs to be on the top, bottom and left side of each square.*
STEP 3
Flip over the scrapbooking paper (so that your grid lines are no longer visible).
STEP 4
Cut green scrapbooking paper into 1 ¼” squares.
STEP 5
Place a number sticker into the center of each square of green paper (numbers 1-25).
STEP 6
Use double-sided tape to adhere green squares onto each “door” of the calendar.
STEP 7
Decorate the top of the calendar with washi tape, glitter, stickers, paint, etc.
STEP 8
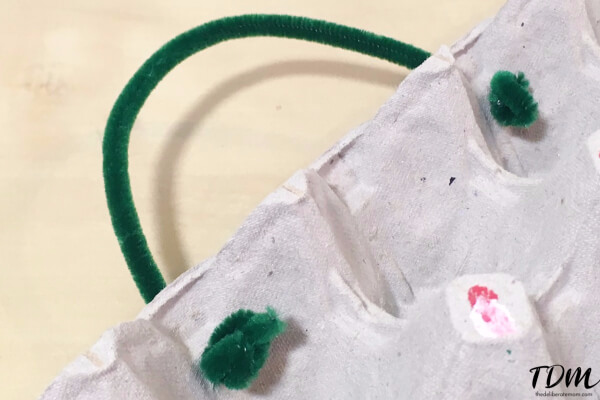
Use the cutting tool to poke 2 small holes into the top edge of the egg carton. Stick a pipe cleaner through one hole and knot underneath. Do the same with the other side. See the photo below for reference.
STEP 9
Fill 25 spots of the egg carton with treats.
STEP 10
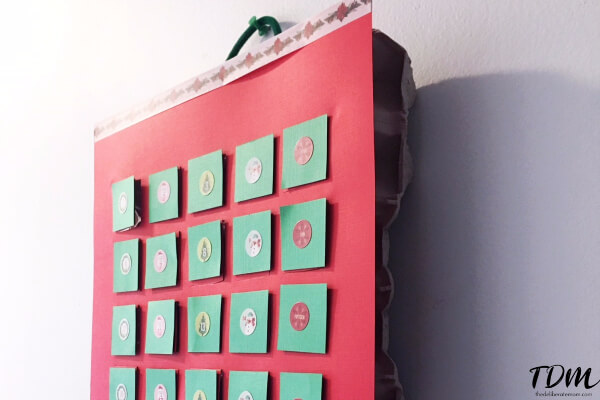
Use double sided tape to mount the “front” of the advent calendar onto the egg carton.
STEP 11
Hang, admire, and enjoy!
I love our egg carton advent calendar. I made homemade dairy-free chocolates for our calendar, but after testing a chocolate by leaving it out for an hour, I realized that it would become a melted mess if I put homemade chocolates in the calendar. So I’ll be purchasing dairy-free chocolate bars to cut up and place into the calendar.
I would advise wrapping your chocolates or candies before placing them in the calendar, as it’s hard to know how “sterile” those egg cartons are.
This was a lovely, quick project. Older children might even enjoy creating the calendar with you. These calendars would work well with small toys, erasers, bouncy balls, etc. You can get super creative with this calendar!




Omg, I still have similar advent calendar memories as a kid here, too. And I buy the chocolate filled ones for my kids now, as well. But this DIY Egg Carton one looks like so much fun to make and use, as well as easy to put together, too. So definitely going to have to try to make for us here now. Thanks for sharing, Jennifer and pinning to try now. Have a wonderful week ahead <3
This is such an amazing idea. Now why didn’t I think of this. What a great way to look forward to the holidays. I might just have to make this with Madison, but first I’ll have to find the egg carton. Not sure I have any on hand at the moment, but I’ll have to get it. Thank you for this and here’s to an amazing rest of the week!
This makes me happy. The best advent calendar we ever had was one from Milka from Germany. Because the chocolate was divine!
I think Scarlet would love this. It would contain some appropriate and awesome treats for my kids!